


Easy Christmas Crafts: DIY Wrapping Paper and Decorations

Check out our latest reel filled with crafting inspiration and keep reading below for a step-by-step guide on how to achieve the finished look!
And now it's your turn...
Want to channel your creativity whilst preventing surplus food from making its way to landfill? Why not try potato printing to create your own wrapping paper? It’s the perfect activity to do with little ones! Follow the simple instructions below to create your masterpiece.
What will you need?
- Potatoes
- Knife
- Cookie cutters (optional)
- Acrylic paint
- Paint brush
- Plate
Step-by-step guide
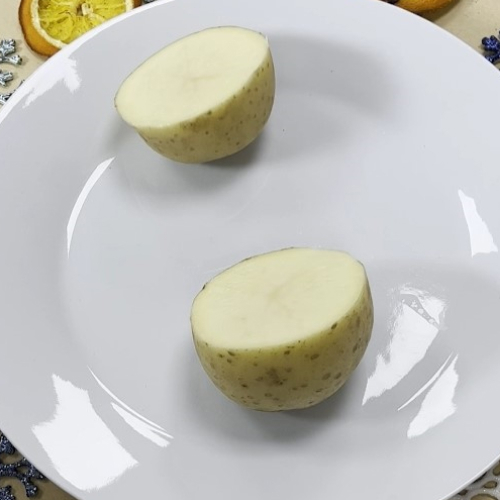
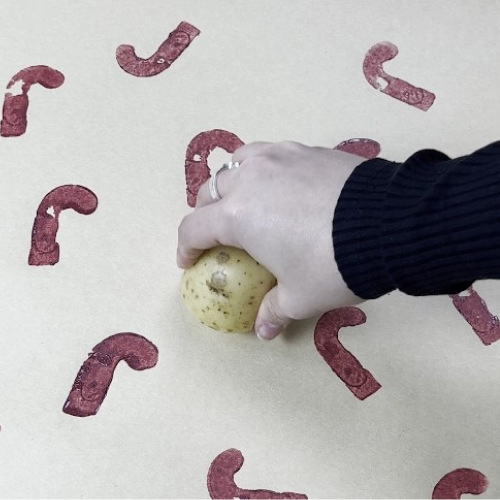
1. Cut your potatoes in half - any size will do although it may be more difficult to cut your pattern into small potatoes!
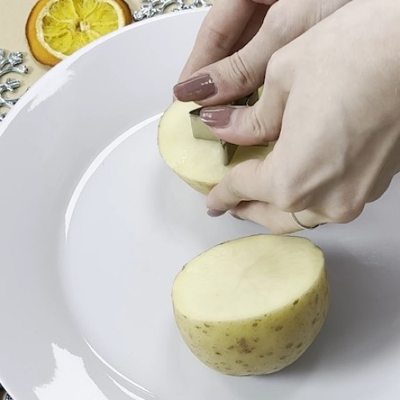
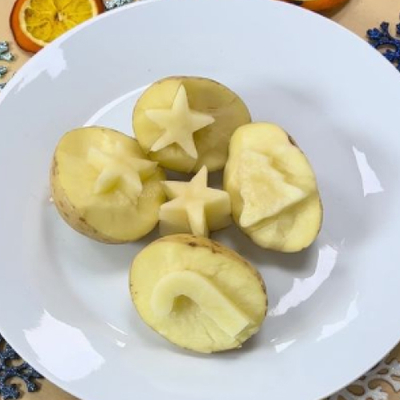
2. Cut out your design - you can do this freehand or gently press in a cookie cutter to create an outline to act as a guide. You can either cut this shape the entire way through the potato or cut approximately half way through so that you can apply more pressure when printing.
3. Apply acrylic paint - when you are happy with your design, use a paint brush to cover the protruding shape with acrylic paint.
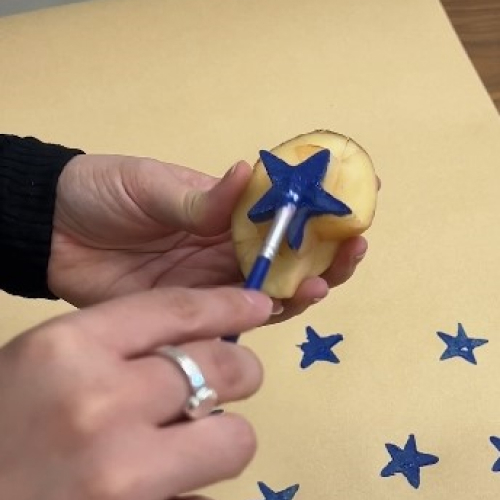
4. Print, print, print - place the acrylic covered side of the potato onto your paper and gently push down. Try to apply even pressure to make sure that the paint prints evenly. You can fill in any gaps using the paint brush.
5. Leave to dry - when you are happy with your design, leave the paint to dry. You can also add in extra details with the paint brush when the first layer of paint has dried if you wish!

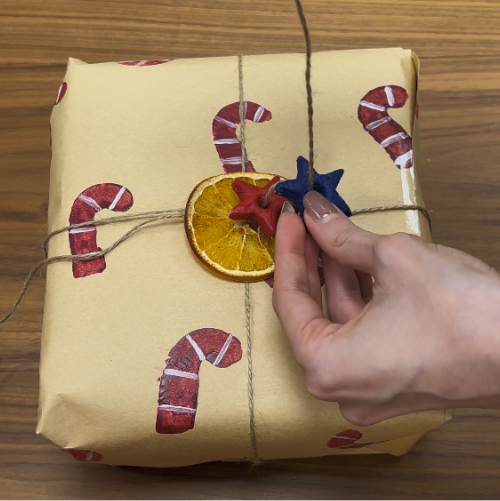
6. Time to wrap - it is time to enjoy your new crafty creation and put your gift wrapping skills to the test!
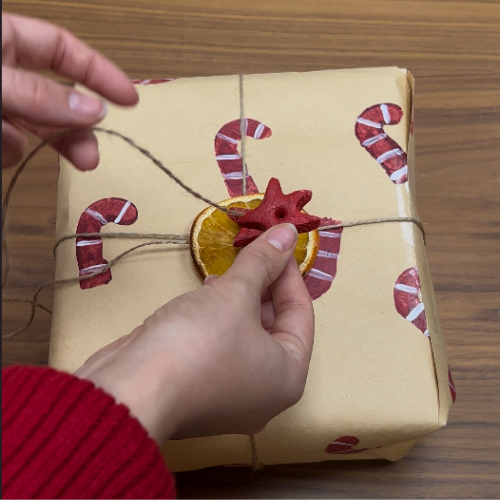
To take your wrapping to the next level, why not create some fun salt dough accessories to attach with string? They can also double up as decorations for your Christmas tree or could even be assembled into a garland!
What will you need?
- 1 cup of plain flour
- 1/2 cup of table salt
- 1/2 cup of warm water
- Mixing bowl
- Spoon
- Rolling pin
- Cookie cutters
- String
- Scissors
- Plate
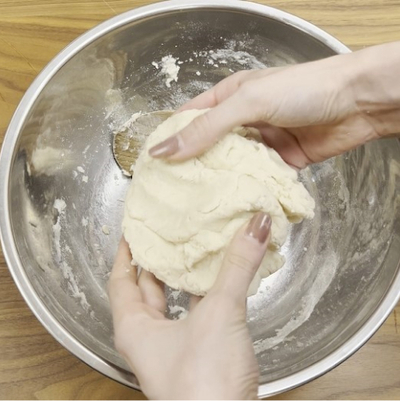
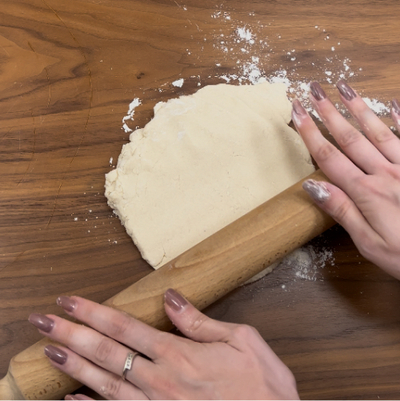
1. Combine the ingredients in a bowl - pour the flour, salt and water into a mixing bowl and stir until they form a dough.

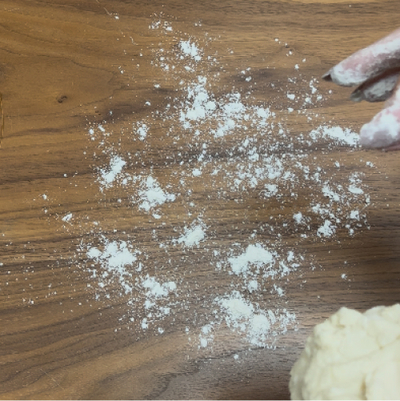
2. Roll out the dough - sprinkle flour on your worktop to stop the dough from sticking and roll out to a thickness of up to 1cm.
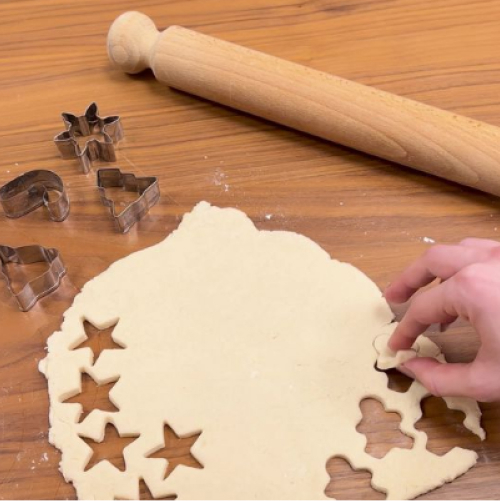
3. Cut out your shapes - using a cookie cutter, create your desired shapes. If you wish to thread string through them once dried, use a pen lid to create small holes.
4. Heat in the microwave - place the shapes onto a microwave safe plate and heat in 30 second intervals until hardened. You may need to flip the shapes over if moisture appears during the hardening process. Be careful when handling as they may be hot! Once hardened, leave to cool on a plate.

5. It's painting time - once the shapes have fully cooled, you can get creative with acrylic paint. You could also add PVA glue and glitter to make your decorations to sparkle!
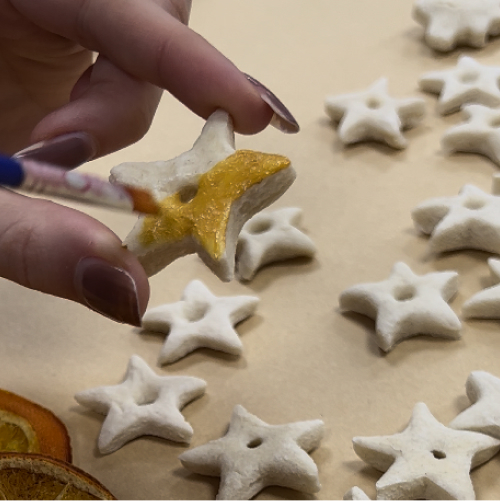
6. Attach string - when the paint has dried, thread string through the holes of the decorations and add them to your gifts and Christmas tree as desired!
And there you have it! Crafty ways to elevate your wrapping this year and to make your gift giving that extra bit special. If you are stuck on what to wrap with these handcrafted creations, why not take a look at our Lumie Gift Guide for inspiration?